Ecommerce Component
Package
Related Links: How to Add a Component | How to Modify a Component | Editing BasicsOverview | Edit Package
Overview
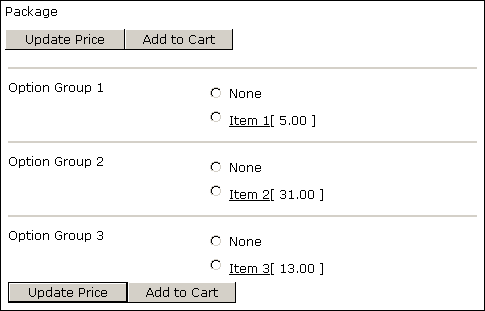
Package components allow you to add a specialized component to your page to display a package from your catalog. For example, you can feature a package right on your home page, increasing the chance that a visitor will use it to make a purchase. This component allows visitors to your Web site to purchase a specific product from your Product Catalog.

To add an Item Group Component to the page, click on "Page" in the top-left
corner of the Page Editor. Click on "ecommerce".
Click on "Item Group".
Back to the Top of the Page
Edit Package

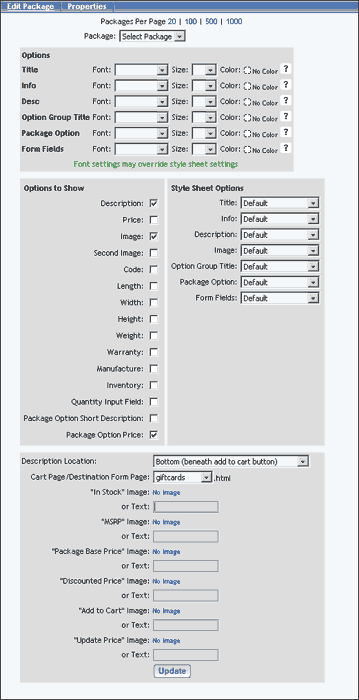
The first option, which is required, is a drop-down menu to select your product that the item group component will be linked to. This drop-down menu will conatain a list of every package (both active and inactive products) in your Product Catalog. Please keep in mind that the Package Component will only allow you to assign an item group to the component. You cannot assign items or item groups to this component.

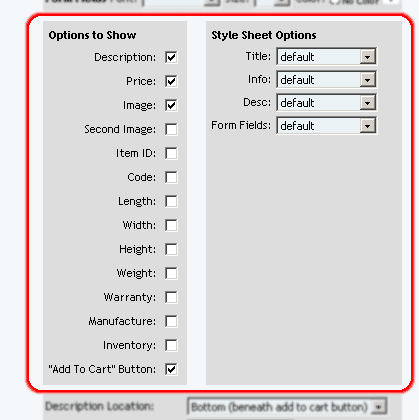
The gray sections for "Options", "Options to Show", and "Style Sheet Options" allow you to specify how the Package Component will be displayed on the Web page. Click here for more information on the display options for item groups. Click here for more information on Style Sheets.

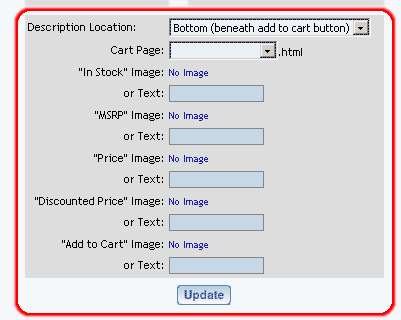
The final gray section has other options for display on the page.

You can specify the layout of the description of the product with respect
to the "Add to Cart" button by using the drop-down menu next to the text
"Description Location".
Specify the page you are using as the cart page (for checkout of your
Web site) that has the Cart Component by using
the drop-down menu next to the text "Cart Page".
If you have your own "Add to Cart" button or image, click on the text
"No Image" to select an image.
Otherwise, the system will create a generic form button with the text you
specify in the text field next to the text "or Text:".
When done specifying all of your options for the component, click on
the button "Update" to save your changes to the component.
Editing Basics
Back to the Previous Page