Package Option Groups
Related Links: 10-Step Guide on Setting Up E-commerce | Product Catalog Management | Package Management PageOverview | Adding Items to an Option Group | Package Option Group Details | Package Option Group Administration
Overview
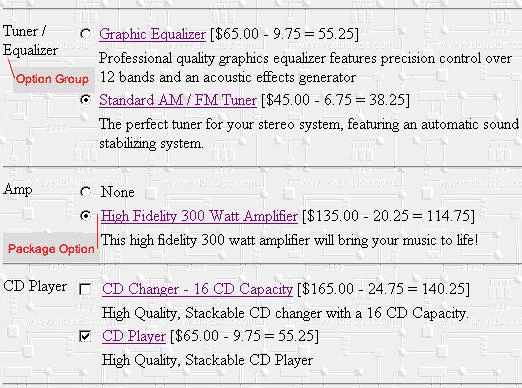
A package option group is used to give customers a choice between items (package options) when purchasing a package. A group is given a name which is used to describe all of the items in the group. At least one group needs to be created in the software in order to use a package.
The package option group administration page is used to set up and manage groups of items to be used as purchase options for a package.
Once a group is defined, items (item package options) are then added to this group.
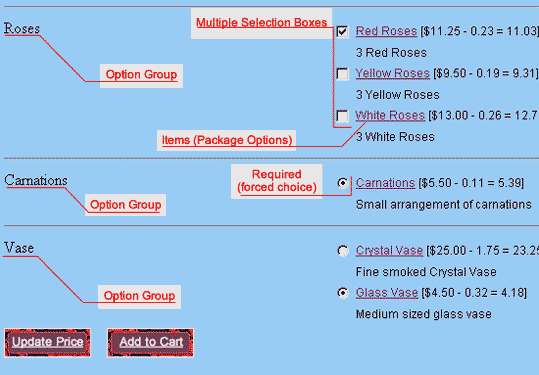
Each "item" that is added to an option group will be presented as a purchase option. Customers will be able to buy one or more of the items from this group, and then make additional selections from any other group that is a part of the package.
- Items will not be available to add to package option groups unless the item has at least one package option defined through the item's administration page.
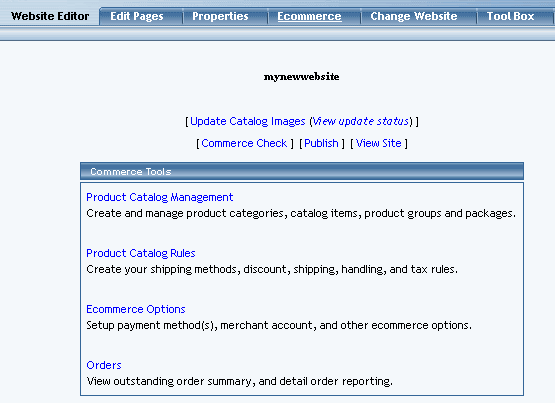
Navigation: Click on the main "Ecommerce" link at the top of any main administration page. Click on the "Product Catalog Management" text link to load the product catalog management page.
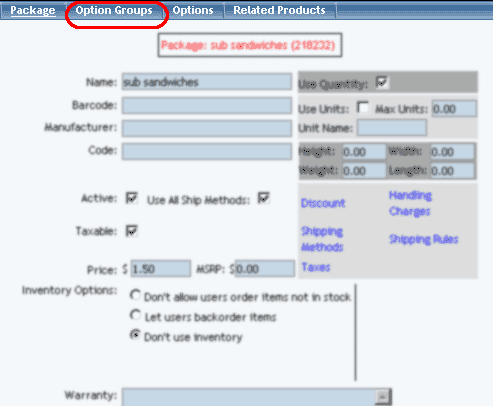
Select a package to edit from the drop down menu located in the "Packages" section and press the "Edit" button, or click on the "New" button to create and name a new package. The package management page will open in a new browser window. Click on the "Option Groups" text link located at the top of the administration page.
An option group is a collection of items that make up one choice in a package. A customer will be able to select one item, no items, or multiple items from the option group, depending on how the group is set up.
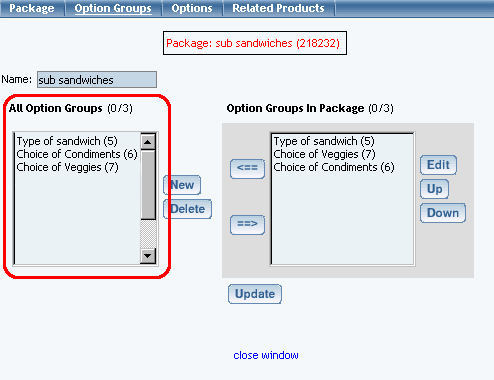
A list of all available option groups will be listed on the left side of the administration page.
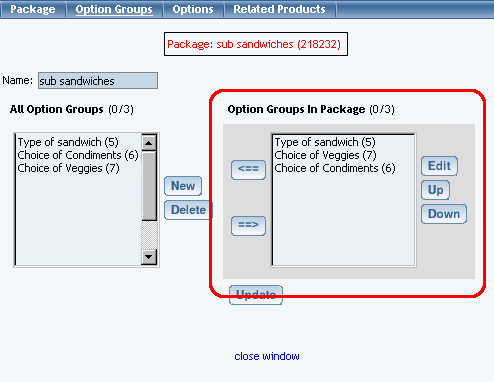
Option groups that are currently used by the package will be display to the right.
To create and define a new option group, click on the "New" button near the center of the administration page. Enter the name of the option group in the pop-up dialog box. The new option group will then be added to the "Available Option Groups" section.

To add an existing option group to this package, click on the option group name in the "Available Option Groups" section. Press the "Right" arrow button located to the left of the "Option Groups in Package" section. The option group will be removed from the available group and added to the option groups in the package.
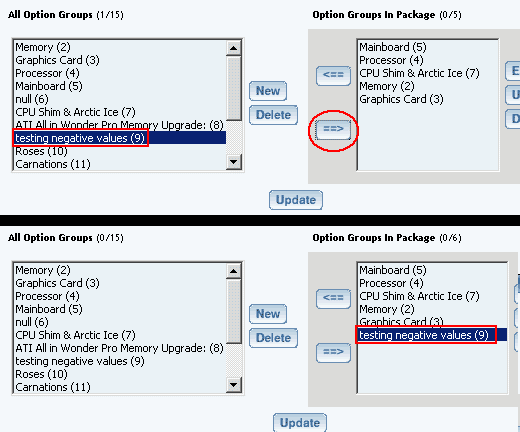
To delete an option group, click on the name of the group from the "Available Option Groups" section. Click the "Delete" button located near the center of the administration page.
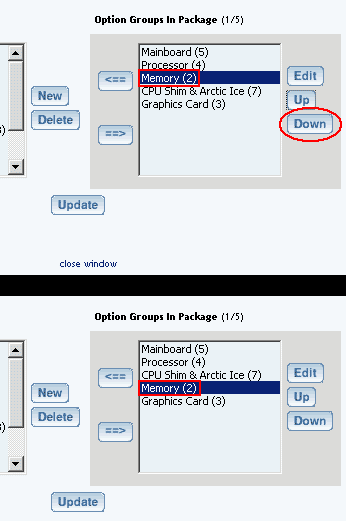
To change the display order of option groups currently used in the package, click on the name of the group to move. Use the "Up" or "Down" buttons to move the selection to the desired position. Repeat this process until all option groups appear in the order to be displayed in the catalog.
To modify an existing option group (or a newly created one), first add the option group to the package from the available group list. Then, click on the option group name under the "Option Groups in Package" section. Click on the "Edit" button. The modify package option group details administration page will load in a new browser window.
Modify Package Option Group Details
Modify or define package option group details. This section is used customize the settings for each option group used in a package.
Navigation: From the package option group administration page, select a package to edit from the drop down menu located in the "Packages" section and press the "Edit" button. The package management page will open in a new browser window. Click on the "Option Groups" text link located at the top of the administration page. Click on an option group from the "Option Groups in Package" Section. Click the "Edit" button. You will see the following screen:
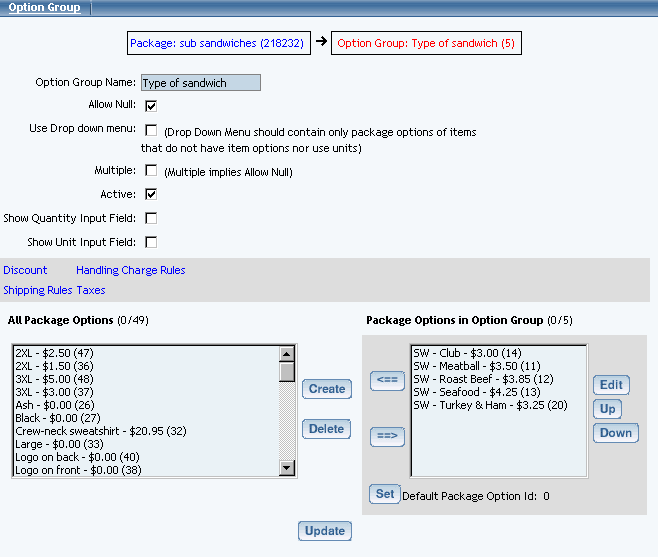
To change the name of the option group, type over the existing name in the field provided.
Explanation of the Package Option Group Settings:
-
Allow Null: Allows customers to select "None" from the product package page. Check this box if items in this group are optional. Uncheck this box if a selection is required in order to complete a purchase.
Use Drop down menu: Will display your optiosn as a drop-down instead of as a checkbox or radio button.
Multiple: Allows customers to purchase multiple items in this group. Selecting this option implies that a customer can select nothing.
Active: Uncheck the "Active" box to disable this option group.
Show Quantity Input Field: Check this box to allow customers to specify how many of any option to purchase. With the quantity box unchecked, customers will not be given a choice for the quantity as it will be assumed they only wanted one of the choice.
Show Unit Input Field: Check this box to enable the custom unit of measure for all package options in the group. A custom unit of measure must be specified in the item administration for all items used in the group. See the item administration page for further information about units.
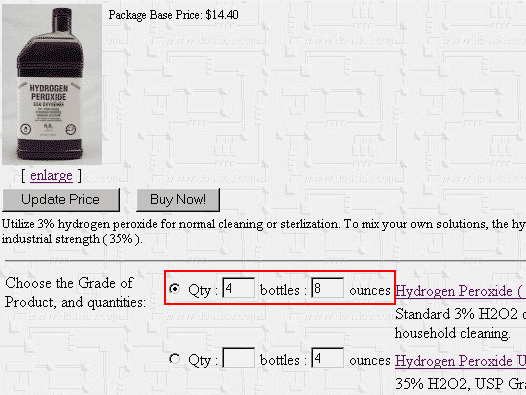
[ Example of quantity and unit used in a package option group ]
Adding Items to a Package Option Group
Once a package option group is created, items must be added to the group. Each item added to the group will be presented as a purchase choice. A customer will be able to choose which item(s) they would like to purchase from the option group.
All items to be used in package option groups must first be defined as package options. See the section on defining item package options for further information.
To add a package option (an item) to this option group, click on the package option in the "All Package Options" section. Click on the "Right" arrow button. The option will be added to the option group.
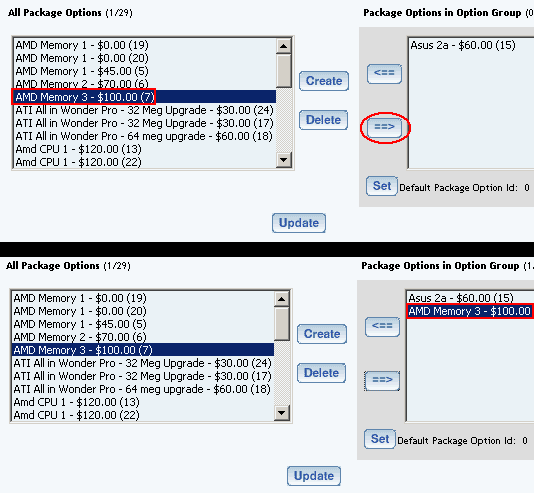
To change the display order of package options currently used in the group, click on the name of the option to move. Use the "Up" or "Down" buttons to move the selection to the desired position. Repeat this process until all options appear in the order to be displayed.
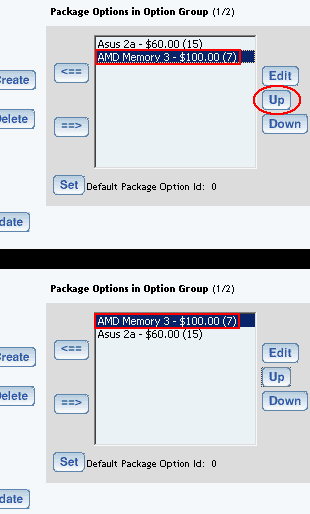
To set the default option, click on the package option, then click the "Set" button below the "Package Options in Group" section. This defines which package option will automatically be selected for purchase in this group.
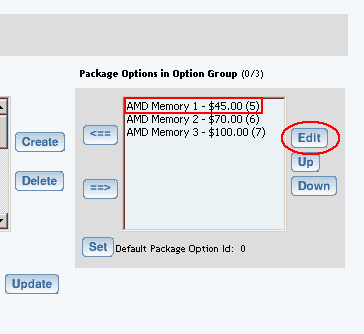
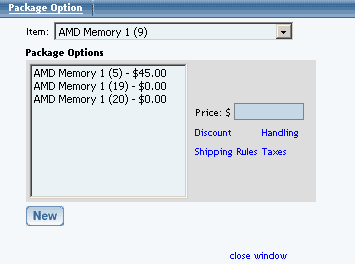
To edit a package optionís details, click on the name of the option in the "Package Options in Group" section. Click the "Edit" button. The package option administration page will load in a new browser window.
To view the details of the current package, click on the package name at the top of the administration page. The package administration page will load.
Package Option Administration
View, create, modify and manage package options by item.
- Administration
Package Option Group Discounts
Package Option Group Taxes
Package Option Group Handling
Package Option Group Shipping
Click on the name of any package option currently used in a package option group. The package option administration page will load in a new browser window.
The base item for the package option will be selected by default in the "Item" drop down menu. To view package options for a different item, select the desired item from the drop-down menu.
To change the retail price of any listed package option, click on the name in the list, and type the new price over the old one in the field provided. Click the "Update" button to apply the change.
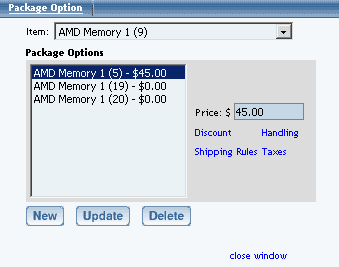
To delete a package option, click on the name in the list, and click the "Delete" button.
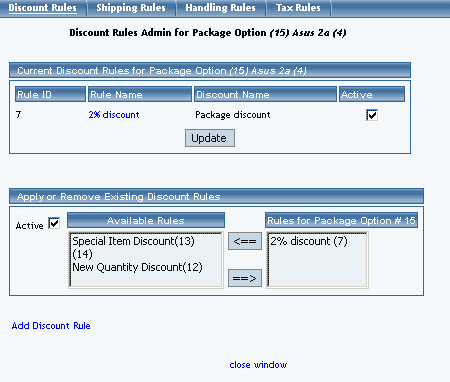
To create, modify, or view discounts for the selected package option, click on the "Discounts" text link located beneath the price. The package option discount administration page will load in a new browser window.
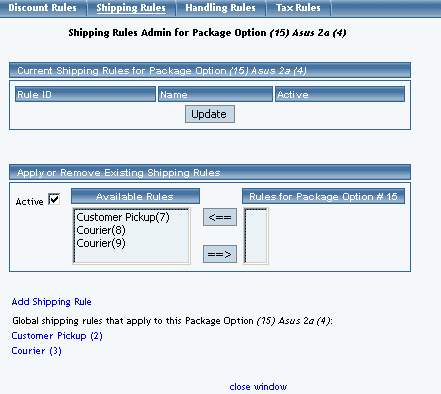
To create, modify, or view shipping rules, click on the "Shipping Rules" text link. The package option shipping rules administration page will load in a new browser window.
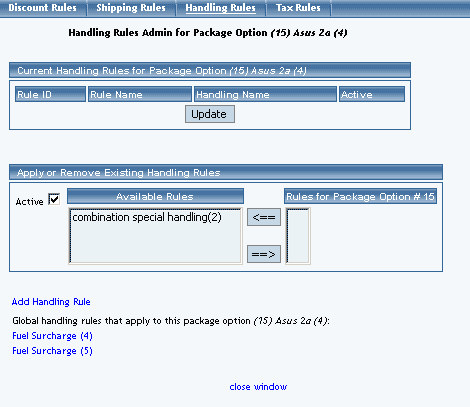
To create, modify, or view handling charges, click on the "Handling" text link. The package option handling charges rules administration page will load in a new window.
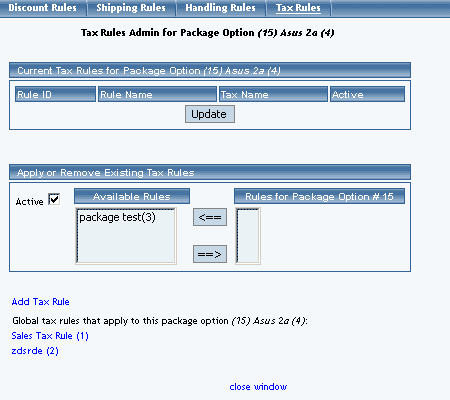
To create, modify, or view tax rules, click on the "Taxes" text link. The package option tax rules administration page will load in a new window.
Package Management Page
Product Catalog Management
10-Step Guide on Setting Up Ecommerce
Back