Page Editor
Other Menus
Page | Main | Reload | Options | Back To Main Menu | Active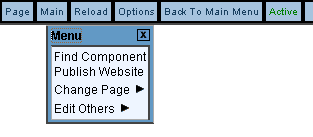
Main
Find Component
Publish Website
Change Page
Edit Others
-
Find Component
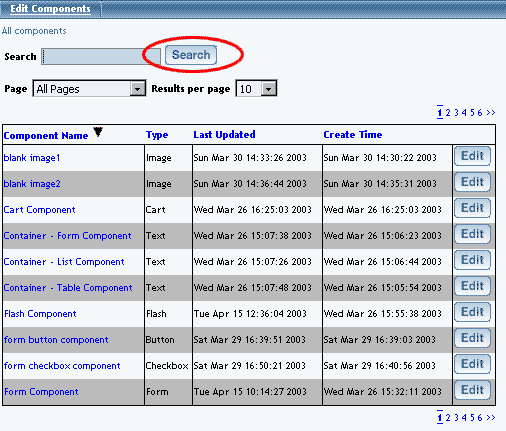
If you need to find a component that you have created, you would use this option. A new window will open up displaying all the components in your Web site.
Click on "Main" in the top-right corner of the Page Editor. Click on "Find Component".
Type in the name of the component in the text field next to the text "Search". You can specify whether you would like the Page Editor to search for all pages or a particular page. You can also specify the number of search results per page in a drop-down menu. When you are done specifying options to search for, click on the button "Search" to search for a component with the text that you specified.
The Page Editor will display a table with a list of components matching your search terms. By default, the Page Editor will list all created components until you search for a particular layout. You can click on the name of the column in order to sort (alphabetically from A to Z) the components by the name of the column. If you click on the name of the column again, it will reverse sort (from Z to A) the components. You can automatically jump to the edit menu for the component by clicking on the button "Edit". You can jump from page to page by clicking on the page numbers on the top-right and bottom-right corners of the table.
If you are done searching for components, you can close the window.
Back to Main
Back to the Top of the Page
Publish Website
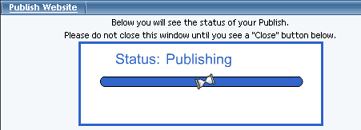
When you proceed with this function, the Administration will integrate all (if any) changes to the Web site. You will see the following screen after the Publish process has completed:
Back to the Top of the Page
Change Page
When in the Page Editor, you can switch which page you would like to edit by using this function.
Click on "Main" in the top-right corner of the Page Editor. Click on "Change Page".
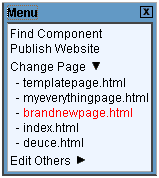
The Page Editor will list all of your pages for your Web site. Click on the name of the page that you would like to start editing on. The Page Editor will then reload so that you can begin editing your selected page.
Back to Main
Back to the Top of the Page
Edit Others
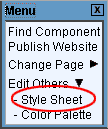
You can modify and view the style sheet and color palette for your Web site in this option.
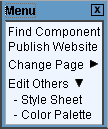
Click on "Main" in the top-right corner of the Page Editor. Click on "Edit Others".
-
Style Sheet
-
Class Editor
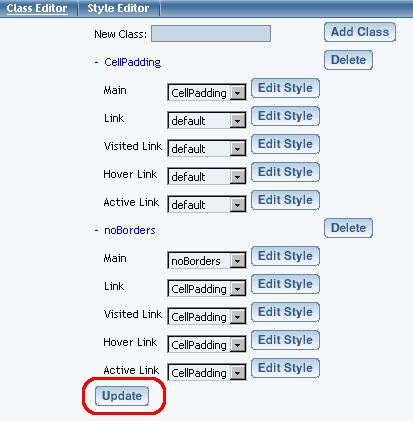
To define classes for your Web site, you would use the Style Sheet Class Editor. Enter in a class name, then click on the button "Add Class".

Click on the blue text of the class name to edit the class. Specify the main, link, visited link, hover link, and active link styles by using the drop-down menu for each option. To add styles in the drop-down menu, click on the button "Edit Style" or click on the link "Style Editor" at the top of the window.
Back to Main
Back to Edit Others
Back to the Top of the Page
Style Editor

To create a style, enter in the name for your style in the text field next to the text "Style Name" and then click on the button "Create New Style". The Page Editor will then reload the page with options to modify your newly created style.
To edit an existing style, choose the style in the drop-down menu next to the text "Select Style:". The Page Editor will reload the page with options to modify the existing style.

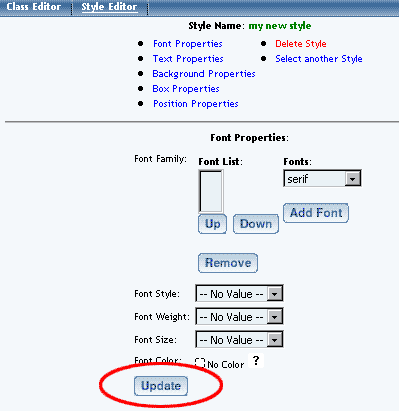
Each style has sections to modify font properties, text properties, background properties, box properties, and position properties. You also have links to delete the style and select another style to edit. You must click the button "Update" when switching between style properties or when finished in order to save and apply your changes to the Web site.
Font Properties allow you to specify font faces, font style, font weight, font size, and font color.
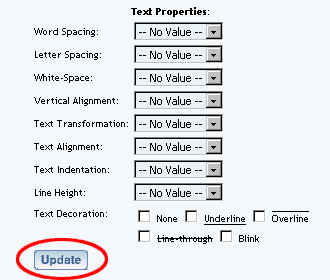
Text Properties allow you to specify word spacing, letter spacing, white-space, vertical alignment, text transformation, text alignment, text indentation, line height, and text decoration.
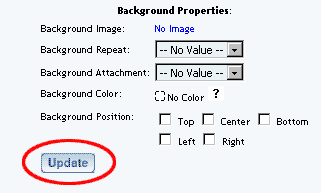
Background Properties allow you to specify a background image, background repeat, background attachment, background color, and background position.
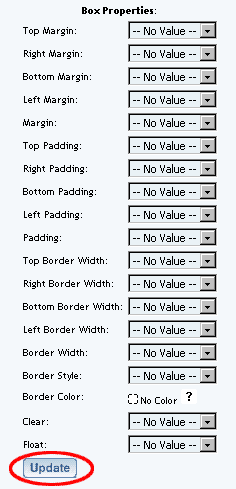
Box Properties allow you to specify options for top margin, right margin, bottom margin, left margin, all margins, top padding, right padding, bottom padding, left padding, all padding, top border width, right border width, bottom border width, left border width, all borders width, border style, border color, clear, and float.
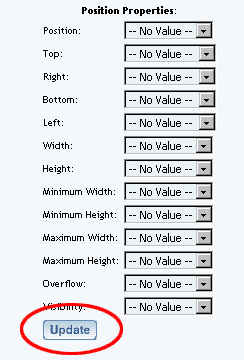
Position Properties allow you to specify options for position, top, right, bottom, left, width, height, minimum width, minimum height, maximum width, maximum height, overflow, and visibility.
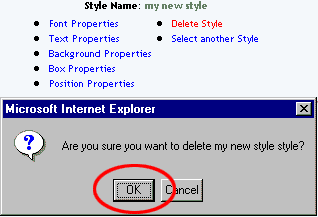
To delete a style, click on the red text "Delete Style" to delete the currently selected style. When the confirmation dialog window appears, click "OK" to confirm the removal of the style.
For more information on classes and styles, click here.
Back to Main
Back to Edit Others
Back to the Top of the Page
Color Palette
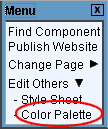
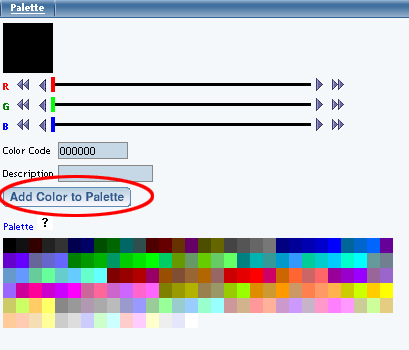
You can specify your own shade of colors by either using the sliders (one slider for each primary color of red, green, and blue) or by inputting the HTML hexadecimal color code. To choose one of our predetermined color shades, click on one of the colored squares near the bottom of the window. Once you have found a color that you like, enter in a description of the color in the field "Description" and then click on the button "Add Color to Palette". To best setup your Color Palette, click here for more information.
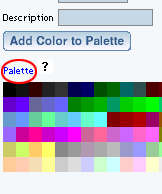
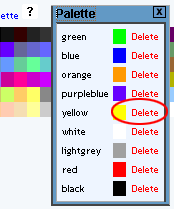
To remove colors from the color palette, click on the blue text "Palette".
A new palette window appears. Click on the red text "Delete" to remove that color from the color palette.
Back to Main
Back to Edit Others
Back to the Top of the Page
Reload
Use this option to reload the Page Editor page that you are working on.
Back to the Top of the Page
Options
This option allows you to specify your settings for your Site Builder Administration. You can specify the Page Admin Settings and your Performance Settings.
The Page Admin Settings allows you to enable/disable bubble help, enable/disable bubble descriptions, enable/disable borders, enable/disable cursor auto focus, enable/disable the use of Java, select between Simple and Advanced Mode for the Administration, and select the time delay before a bubble help displays on the page.
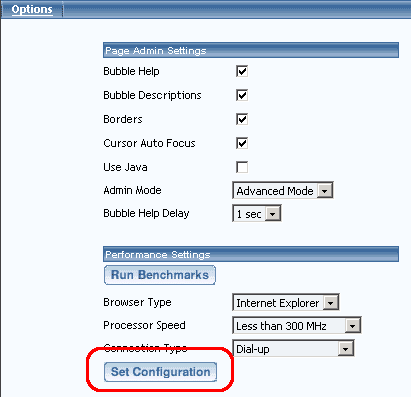
The Performance Settings allows you to optimize the speed at which the Administration responds based on the speed of your computer, your choice of Internet browser, and the speed of your Internet connection. Click on the button "Run Benchmarks" to allow the Administration to communicate with your computer.
When the new window opens and finishes loading (this could take anywhere from 3 seconds to 15 seconds), you will see the information that the computer reported back to the Administration. Click on the buttons "Set Browser Type", "Set Processor Speed", and "Set Connection Type" to assign the listed information as your benchmarks.
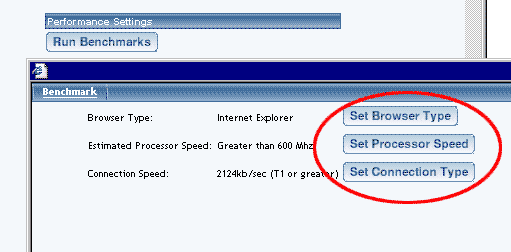
If you are done making modifications to your Options for your Administration, click on the button "Set Configuration" to save and apply your changes to the Administration.
Back to the Top of the Page
Back To Main Menu
Use this option to return to the Website Editor main menu.
Active
This section of the Page Editor navigation bar indicates if the page that you are editing is active or inactive. You set a page to active or inactive via the page modifier options on the Website Editor main menu.