Product Categories
Related Links: 10-Step Guide on Setting Up E-commerce | Product Catalog ManagementOverview | Category Management Page | Category Layout | Category Item Management | Express Order Form
Overview
The online catalog is organized by setting up categories within the software. Products are placed "inside" categories, and customers can browse through each category to find products of interest.
Each category is like a folder in a file cabinet which contains a list of products that customers can buy. A subcategory can also be created by adding a category inside another category.
Setting up a catalog with categories and subcategories would be like having a book with a table of contents. The table of contents itself would be the main category, and each chapter listed would be a subcategory. By accessing any "chapter" (subcategory), a customer will then have access to any products listed.
Each category and/or subcategory is like a folder that contains:
- A list of products inside
- Other folders inside (subcategories)
- Both a list of products and other folders inside
The category system allows a business to display products according to product type, product brand, and/or any other classification.
This gives customers an easy way to find the product(s) they are looking for. A visitor can enter through the main catalog page, and will see links to all top-level categories (and an optional category image). A customer can then select which category to view. After clicking on one of the top-level categories, any products and/or subcategories within will be displayed.
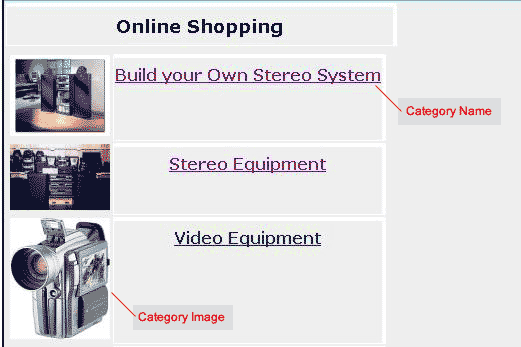
[ An example of a main catalog page with top-level categories ]
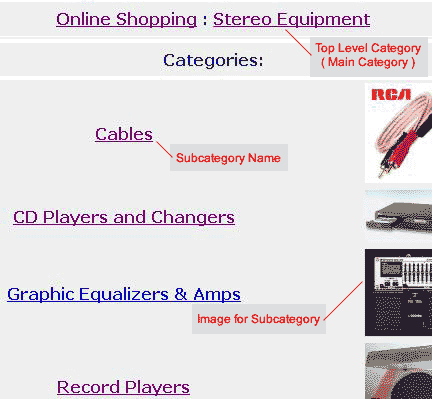
[ An example of subcategories ]
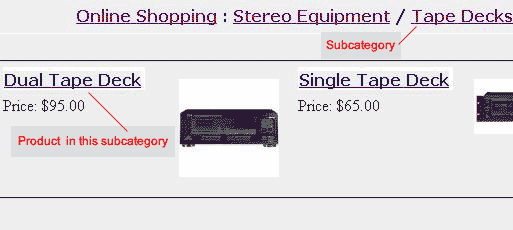
[ An example of products within a subcategory ]
- At least one top-level category needs to be created
- Any necessary subcategories are created "under" the appropriate top-level category
- All top level categories will be visible when a visitor first enters the main catalog
- Subcategories will only be visible when a user clicks on the "parent" category
- Items, packages, and item groups are added into the appropriate categories and/or subcategories
- At least one category must be created in order to use the catalog
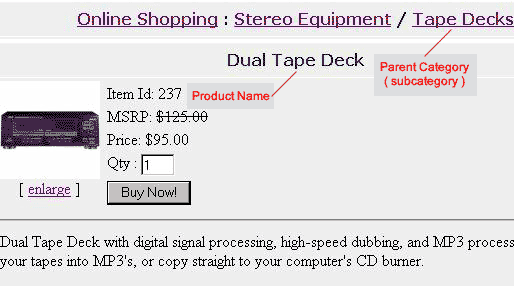
[ An example of an actual product/item page ]
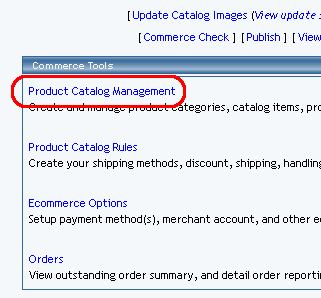
Navigation: Click on the main "Ecommerce" link at the top of any main administration page. Click on the "Product Catalog Management" text link to load the product catalog management page.

A top-level category is a category that is visible from the main catalog page of the Web site. A subcategory is a category that is only visible once a visitor has clicked on the parent category.
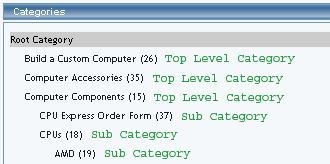
Categories and subcategories are normally set up to logically arrange
related products by classification. An example would be a catalog with
top-level categories representing different types of products, with subcategories
further classifying products by brand name.
Categories are automatically arranged alphabetically when the online catalog
is generated.
To add a new top-level category, click on root directory to select it.
Then, click on the "New" button located below category list. Enter the name
of the new category in the prompt window, and click ok.
Enter the name of the new category in the prompt window, and click ok.
The category management page will load in a new
browser window.
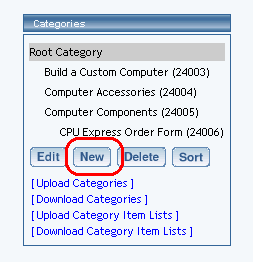

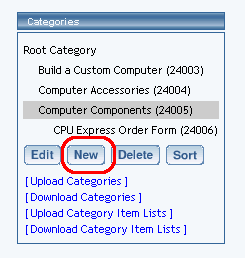
To add a subcategory, click on an existing category name to highlight it, and then click the "New" button. Enter the name of the new category in the prompt window, and click ok. The category management page will load in a new browser window.

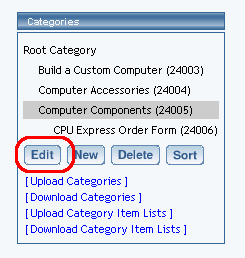
To edit a category, highlight an existing category name and then click the "Edit" button. The category management page will load in a new browser window.
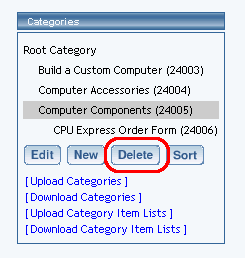
To delete an existing category, highlight the category name and click the "delete" button.
To sort all of the subcategories for a selected category, highlight the category name and click on the button "sort".
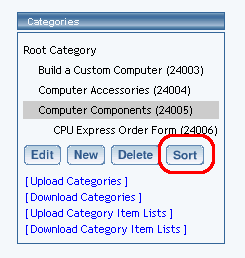
When the new window loads, you will see a list of subcategories under the category in which you selected.
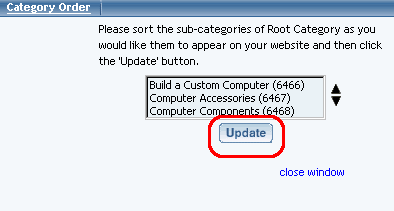
Click on a subcategory that you would like to sort, then click on the up arrow to move the subcategory up in the list...
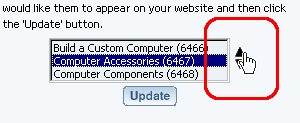
... and on the down arrow to move the subcategory down in the list.
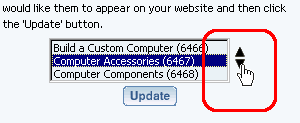
Click on the button "Update" to save your sorting changes.
To upload and download categories, click here
for more information on that topic.
Back to the Top of the Page
Category Management Page
The Category Management page is used to modify the category name, options
and basic layout, as well as add or remove existing items, item groups,
or product packages to categories.
Navigation: Click on the main "Ecommerce" link at the top of any main
administration page. Click on the "Product Catalog Management" text link
to load the product catalog management page.
Create a new product category, or click on a category or subcategory to
modify in the category list. Click on the "Edit" button located at the
bottom of the categories section. The category management page will open
in a new browser window.
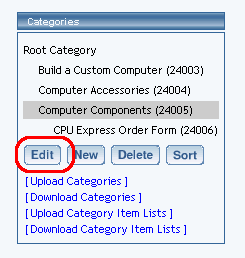
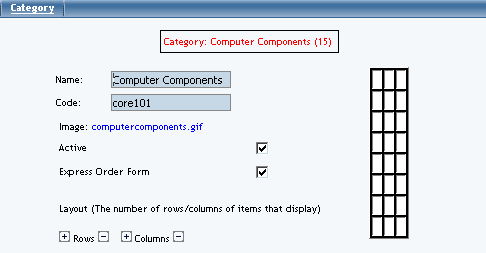
To change the name of a category, type over the existing name in the field provided.

To add or change the code of a category (optional), type the code in the field provided. A category code is a method to identify each category for reference purposes only, and has no specific function in the catalog.

To add or change the image associated with the category, click on the
image file name, or "No Image" if there is no current image applied. The
image selection page will load
in a new window.

Click on the "Update" button, located at the bottom of the category administration page to apply any changes. The page will reload and display a confirmation message.

Category Layout
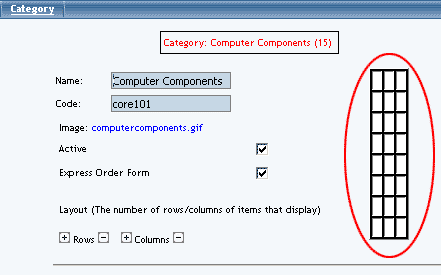
Products can be visually arranged on a page by specifying how many columns
of products/subcategories to display vertically (next to each other)
and how many rows of products/subcategories to display horizontally.
The category managment page is used to control the layout of all items in
the category. It is also used to modify the name and details of the category.
Navigation: Click on the main "Ecommerce" link at the top of any main
administration page. Click on the "Product Catalog Management" text
link to load the product catalog management page.
Create a new product category, or click on a category or subcategory
to modify in the category list. Click on the "Edit" button located at
the bottom of the categories section. The category management page will
open in a new browser window.
The columns portion of the layout section defines how many products
will display vertically (next to each other) on the page. To add a column,
click on the "+" plus sign to the left of "Columns". To remove a column,
click on the "-" minus sign to the right of the "Columns".
The rows portion of the layout section defines how many horizontal rows
of products will display per page. To add a row, click on the "+" plus
sign to the left of "Rows". To remove a row, click on the "-" minus
sign to the right of "Rows".
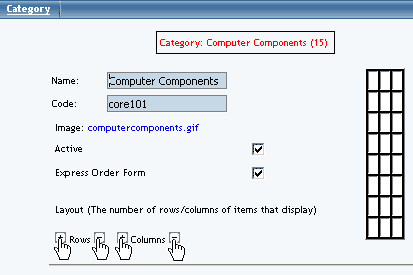
As an example, a category set up to display two columns and two rows
will display up to four products on the first page. The first two products
will display side by side, the third and fourth products will display
below the first two, and any remaining products will be accessible by
clicking on a link to the next page.
Back to the Top of the Page
Category Item Management
Category Item Management allows you to add, remove and/or arrange items,
item groups, and packages.
Navigation: Click on the main "Ecommerce" link at the top of any main
administration page. Click on the "Product Catalog Management" text
link to load the product catalog management page.


Create a new product category, or click on a category or subcategory to modify in the category list. Click on the "Edit" button located at the bottom of the categories section. The category management page will open in a new browser window.

In order for products to be visible from the Web site, items must first be added to a category.
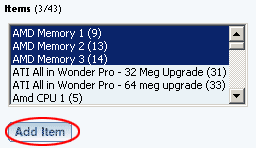
To add an item to the category, select the item by clicking on it in the main "Items" list located toward the bottom of the administration page. Multiple items may be selected by highlighting as many items as desired. Click the "Add Item" button. The page will refresh with the chosen items now populated in the main category list.
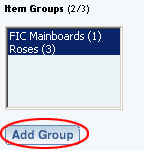
To add item groups, select the desired groups from the "Item Groups" list located toward the bottom of the administration page. Click the "Add Group" button.
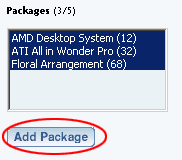
To add packages, select the desired packages from the "Packages" list located toward the bottom of the administration page. Click the "Add Package" button.
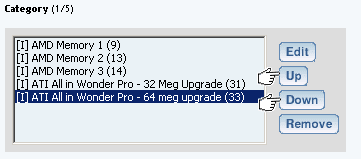
To order products in the category, highlight an item to move by clicking on it from the list of items in the "Category" section. Click the "up" or "down" arrow button to move the product to the desired position. Repeat this process until all products are listed in the order to be displayed in the catalog.
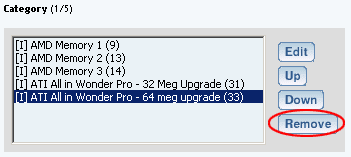
To remove a product from the list of items in the category, select the item and press the "Remove" button.
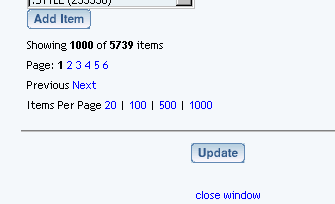
Press the "Update" button located at the bottom of the administration page to apply any changes made.

Back to the Top of the Page
Express Order Form
The Express Order Form lists all products in a category in a format
allowing customers to add multiple items to the shopping cart in one
easy step.
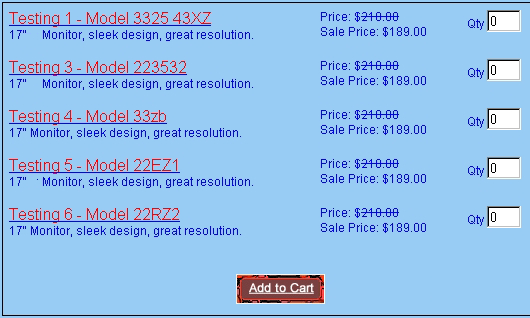
[ Example of an Express Order Form ]
Navigation: Click on the main "Ecommerce" link at the top of any main administration page. Click on the "Product Catalog Management" text link to load the product catalog management page.


Create a new product category, or click on a category or subcategory to modify in the category list. Click on the "Edit" button located at the bottom of the categories section. The category management page will open in a new browser window.

To enable the form for the category, click on the "Express Order Form" selection box. The page will refresh.

The Express order form can only be used with product items, and not packages
or item groups.
To add or remove items to the category, use the category item management
section.

Press the "Update" button to apply changes.

The Express order form will arrange all items in the category as follows:
-
Each item will display the itemís image (if applicable), a short description,
and a quantity field. The "Add to Cart" link will submit all selected
items (items where a customer has selected a quantity greater than zero)
to the shopping cart with one click.
This feature allows customers to quickly purchase multiple products without having to navigate through the entire catalog, page by page, to make multiple purchases.
Product Catalog Management
10-Step Guide on Setting Up E-Commerce
