Other Component
Map
Related Links: How to Add a Component | How to Modify a Component | Editing BasicsOverview | Edit Map
Overview
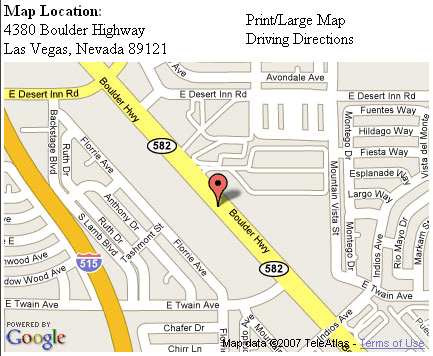
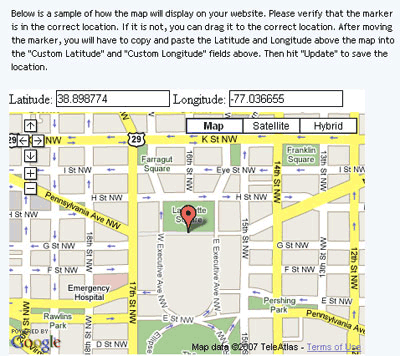
The Map Component will display a map on the Web page that will allow visitors to zoom in and out around the address that you specify.

Click on "Page" in the top-left corner of the Page Editor.
Click on "Other". Click on "Map".
Edit Map
If you want to generate a map based on the default address that you have listed in the My Account section, select your address in the
drop-down menu.
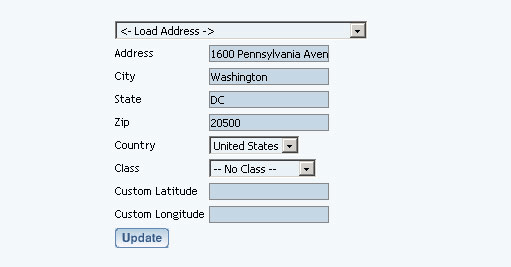
If you want to specify another address to use for the map component, select "<- Load
Address ->" in the drop-down menu. Fill out all of the address information in the related
fields so that the Page Editor can generate a map to that address on the Web page.
For best results, please use the full address names. If that does not pull up a valid map,
you may use variations of the street address - for example, use "St." or "St" for "street",
use "Rd." or "Rd" for "Road", and so on. If you know the 9-digit zipcode for the address
you want to display, this greatly helps in pinpointing the correct address to display.
The drop-down for Directions Class allows you to assign a class to the text link that provides directions to the
displayed address.
When done configuring your options, click on the button "Update" to save and apply your
changes to the Web page.


Editing Basics
Back