Container Component
List
Related Links: How to Add a Component | How to Modify a Component | Editing BasicsOverview | Edit List | Modify List Components
Overview
The List Component serves as a container for other components.
Click on "Page" in the top-left corner of the Page Editor. Click on "Container". Click on "List".
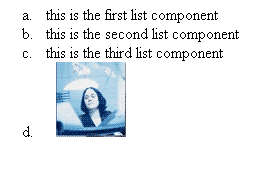
Once you add a list item component, you will be able to add other components to the list component. Each list item component will have a bullet preceding the component.
Back to the Top of the Page
Edit List
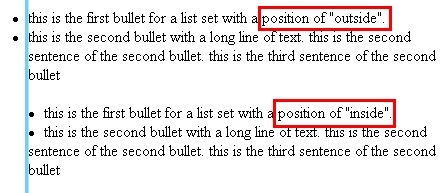
Specify the position of the list component in the drop-down menu next to the text "Position". You have the option to select a position of "Inside" and "Outside". A position of "Outside" will have your second line (and the remaining other lines) of text indented so it is under the first line of text. A position of "Inside" will place the second line (and the remaining other lines) of text directly under the bullet - so that the first line of text will be the only line indented.

Here is what the positions will look like on a sample list:
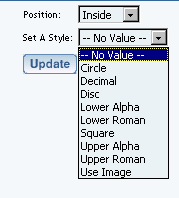
The bullet that will appear in front of every list item component can be specified in the drop-down menu next to the text "Set A Style". You have the option to select a style of "Circle", "Decimal", "Disc", "Lower Alpha", "Lower Roman", "Square", "Upper Alpha", "Upper Roman", and "Use Image".
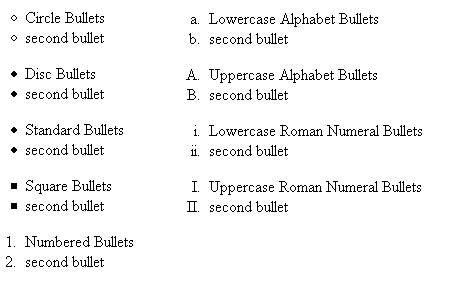
This is what the bullet styles will look like:
If you select the option "Use Image", you have the ability to specify your own image to use as the bullet for your list items.

Back to the Top of the Page
Modifying List Item Components
To add list item components to the list component, click on the editing square in the top left corner of any list component cell. When the menu appears, click on "Add List Item Component".
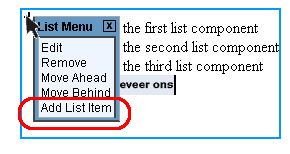
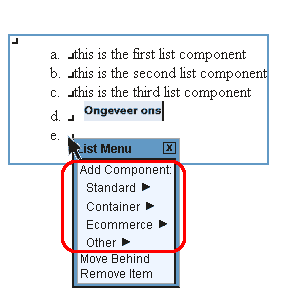
A bullet will be added where you can add a component as the list item component. To the right of the bullet, you will see an editing square. Click on the editing square to the right of the bullet to add a component for that list item.
Editing Basics
Back