Other Component
Calendars
Related Links: How to Add a Component | How to Modify a Component | Editing BasicsOverview | Edit Calendar
Overview
Interactive calendars now can be added to your 3.0 website. Just a few possible uses include online team signups, reservations at your bed & breakfast, requesting an appointment for your services, displaying the hours that you are open, and much much more. You control whether visitors can add events, what types of events they can add, what information they must enter when adding an event, where you want your e-mail notification sent whenever a visitor adds an appointment, the calendar's initial timezone, etc. These and other calendar controls are provided in the Calendar Manager tool. Display options such as where and how a calendar is displayed in your website are provided in the Calendar Component.
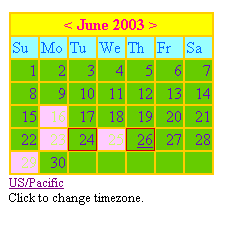
The calendar component allows you to attach a calendar to the web page. Calendars are created using the Calendar Manager located in your Website Editor Toolbox. You use the calendar component to control details of displaying the calendar on your site, including on what page, where on the page, what color scheme, etc.
Click on "Page" in the top-left corner of the Page Editor. Click on "Other". Click on "Calendar".
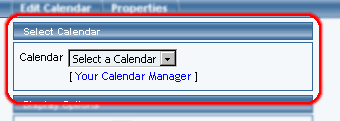
Once you have created your calendar using the Calendar Manager, specify which calendar to use for this calendar component in the following section:
If you click on the blue text "Calendar Manager", you will be taken to the Calendar Manager so that you can edit the calendar.
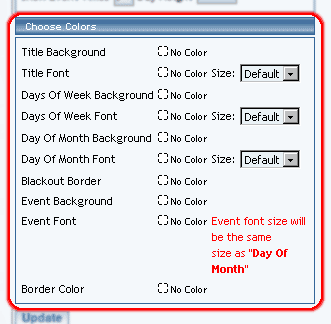
Specify your color labels for Title Background, Title Font, Days Of Week Background, Days Of Week Font, Days Of Month Background, Days Of Month Font, Blackout Border, Event Background, Event Font, and Border Color by clicking on the dashed-square to the right of the text. If you want to specify the font size of the Title, Days of Week, or Day of Month, use the provided drop-down menus.
When done configuring your options for the calendar component, click on the button "Update" to save and apply your changes.
Edit Calendar
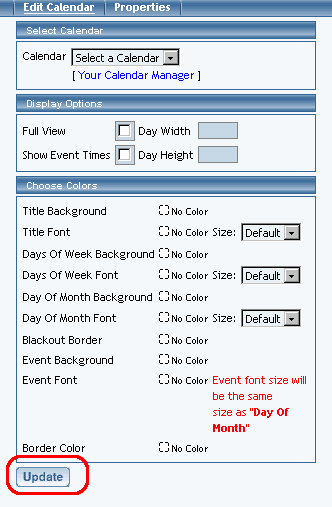
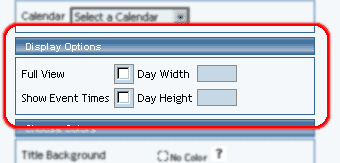
Designate whether you want the calendar to display on the website as full-view or reduced view using the checkbox to the right of the text "Full View". If you want Web site visitors to see the event times in full-view, click the checkbox to the right of the text "Show Event Times". The width and height dimensions of the days in the full-view calendar can be specified in the text fields next to the text "Day Width" and "Day Height". Please keep in mind that the width and height that you specify are suggestions to the system if nothing else restricts the size. That is, the system will attempt to display the width of each day evenly across the available width of the browser window while still trying to keep your suggested width and height dimensions.
Back to the Previous Page